Lab 8 - Docker 101
In this lab you will become more familiar with the Docker command-line interface (CLI).
Goals for this lab:
- Inspect Docker environment on local machine
- Manage container images and instances
- Working with container images
Inspect your Docker environment
Let’s check whether your Docker Desktop Community Edition tooling is correctly set up. Also, you might need to get familiar with the Docker tooling.
You should see the Docker tooling running. On Windows, you can check this by looking for a tray icon like this:

If you cannot find the Docker icon in the tray, you might need to start the Docker tooling:
C:\Program Files\Docker\Docker\Docker for Windows.exe
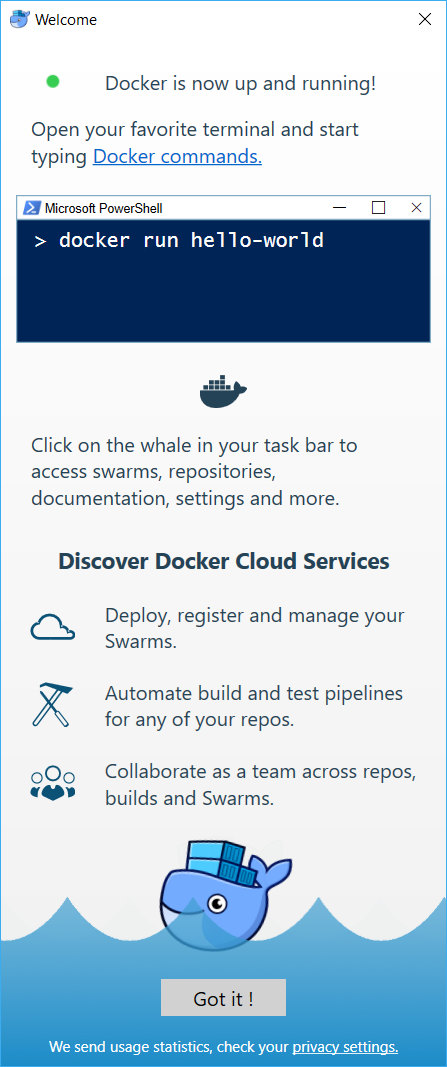
After starting the Docker tooling you should see the following dialog:
Start a Windows Command Prompt and run the following commands:
Verify that your installation functions correctly. You should see the current version of the tooling and information on the client and server. The output for the first two commands should be similar to the following.
docker --version

# Output should look similar to this:
Docker version 19.03.1, build 74b1e89
Check the tooling version:
docker version

# Output should look similar to this
Client: Docker Engine - Community
 Version:           19.03.2
 API version:       1.40
 Go version:        go1.12.8
 Git commit:        6a30dfc
 Built:             Thu Aug 29 05:26:49 2019
 OS/Arch:           windows/amd64
 Experimental:      false

Server: Docker Engine - Community
 Engine:
  Version:          19.03.2
  API version:      1.40 (minimum version 1.12)
  Go version:       go1.12.8
  Git commit:       6a30dfc
  Built:            Thu Aug 29 05:32:21 2019
  OS/Arch:          linux/amd64
  Experimental:     false
 containerd:
  Version:          v1.2.6
  GitCommit:        894b81a4b802e4eb2a91d1ce216b8817763c29fb
 runc:
  Version:          1.0.0-rc8
  GitCommit:        425e105d5a03fabd737a126ad93d62a9eeede87f
 docker-init:
  Version:          0.18.0
  GitCommit:        fec3683
If the Engine does not report OS/Arch as linux/amd64 but windows/amd64 instead, it means that you are running Windows containers at the moment. Run the following command to switch to Linux:
"c:\Program Files\Docker\Docker\DockerCli.exe" -SwitchDaemon
Run the following command to see info about your current Docker Engine state
docker info
Run the following command to see your current downloaded and created Docker images
docker images
Managing container instances
Let’s start some container instances. Docker provides a categorical hello-world sample. Start the container by running the following command from the command line:
docker run hello-world

# This should output a message that starts with the following:
Hello from Docker!
This message shows that your installation appears to be working correctly.

To generate this message, Docker took the following steps:
 1. The Docker client contacted the Docker daemon.
 2. The Docker daemon pulled the "hello-world" image from the Docker Hub.
 3. The Docker daemon created a new container from that image which runs the
    executable that produces the output you are currently reading.
 4. The Docker daemon streamed that output to the Docker client, which sent it
    to your terminal.
Run docker ps to see if there are any running container instances. It might return an empty result:
docker ps

# This should be the output message showing there are no docker container instances active
CONTAINER ID        IMAGE               COMMAND             CREATED             STATUS              PORTS               NAMES
As you can see the hello-world container instance has already been stopped after producing the console output. To see stopped containers change the previous docker command to:
docker ps -a
This will output all running and stopped container instances.
You will now start a local machine management UI which might come in useful to manage Docker on your machine:
docker run -d -p 9000:9000 -v /var/run/docker.sock:/var/run/docker.sock -v /opt/portainer:/data portainer/portainer
Navigate to http://localhost:9000 and create a login for your local machine. Choose to manage the local machine.
Next, search the Docker Hub for public images. Try searching for ngingx which is an HTTP and reverse proxy server.
docker search nginx
docker pull nginx
docker run -it --name docker-nginx -p 8090:80 nginx
The last command seems to block. That’s okay. Navigate to http://localhost:8090 and you will notice that new output is being output to the command promt. This is because you are attached to the container.
To detach from the container use the key combination Ctrl+P, Ctrl+Q to return to the prompt. Inspecting the running containers with docker ps, you should find that the nginx container is still running.
Next, run an SQL Server instance as a Linux container in Docker. The image for SQL Server for Linux is located in the Docker Store, since it is an official image. Navigate to https://hub.docker.com and search for SQL Server there.
Pull the SQL Server image with docker pull:
docker pull mcr.microsoft.com/mssql/server
Run the following command to start The SQL Server container:
docker run -e ACCEPT_EULA=Y -e MSSQL_PID=Developer -e SA_PASSWORD="Pass@word" --name sqldocker -p 5433:1433 -d mcr.microsoft.com/mssql/server
The SQL Server container is started detached, so it will not show any output other than the container ID:
70e944041df92c7e5c12217e98683a11f85eb480288cacc2b50888504366b0af
You can refer to this container by its ID or its name sqldocker. You do not have to specify the entire container ID for commands with the Docker CLI. It is sufficient to provide just characters from the start to give it a unique match. In the example above this would be 7 or 70 or 70e, depending on the IDs of other containers.
Examine the output of the container even though it is detached from the console. Simply run docker logs <container-id>, substituting the ID of the container, like so:
docker logs 70e
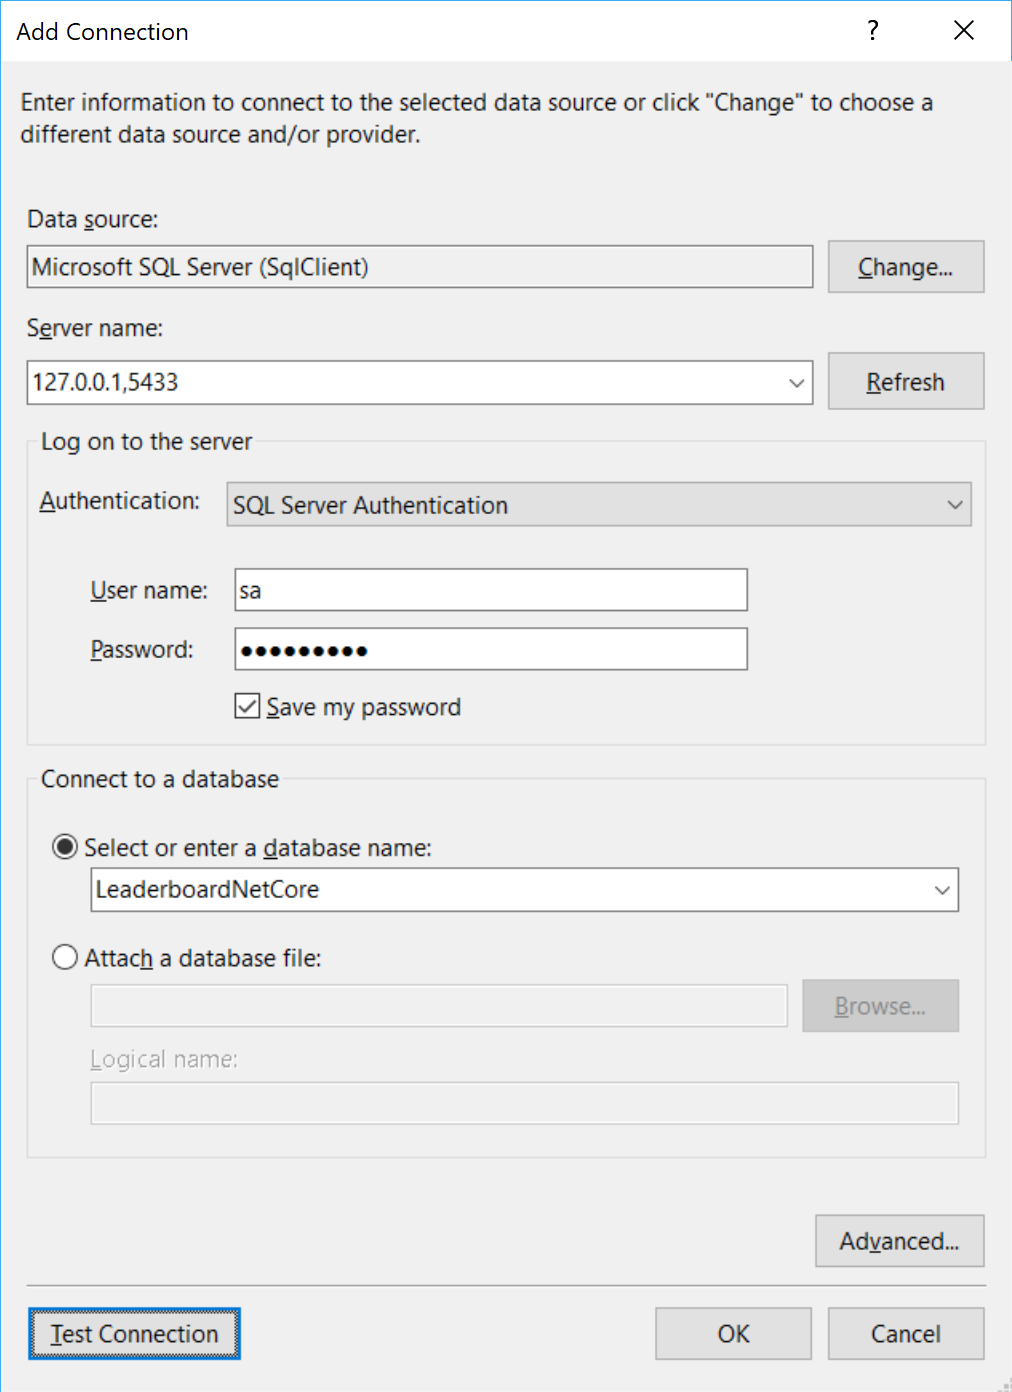
Examine the contents of the SQL Server master database by starting Visual Studio and by adding a Data Connection in the Server Explorer. The database connection details are:
- Server: 127.0.0.1,5433 (notice the comma instead of a colon)
- Username: sa
- Password: Pass@word
- Database instance: master
Inspect the running containers again with docker ps.
You can stop and remove the nginx container with these commands:
docker stop docker-nginx
docker ps -a
docker rm docker-nginx
Do the same for the hello-world container instance by using its container ID or the generated two-part unique name, which is something like loving_newton.
Note that you can specify --rm with the docker run command to have the container automatically deleted when it exists with the same name.
Working with container images
By running the examples above you will have downloaded some container images. You can see which ones are available on your local machine by the following command:
docker images
At last remove the image hello-world:
docker rmi hello-world
State
You have seen that containers support network connectivity. They also support disk operations. However, any data written to disk inside a container is only visible from within the container. It also shares the lifecycle of the container. This means that the data is lost when the container is deleted.
There is a way to persist files generated by a container. You do this by having the container write to a volume. A volume is a file or folder that exists outside of the container, for example on the host or on a network share. Storing files in volumes results in a lifecycle not being coupled to that of the container; files remain and can be used by consecutive container instances.
Wrapup
You have just learned some of the basic commands in the Docker CLI to manage both container instances and images. There is a lot more to discover with Docker commands, but you will encounter this during the rest of the labs.
Keep the container with the SQL Server developer instance running, because you will need it in the next lab.
Continue with Lab 9 - Dockerizing the solution.